
I can't believe I haven't added this recipe sooner! I took the photos two years ago. It's one of the ways I preserve garlic so that it lasts all winter.
America's Test Kitchen just published an article on garlic that's started to sprout. They had previously claimed that the little green sprouts were bitter and should be removed before using, but they did further testing which proved they were dead wrong! The sprouts are fresh tasting - it's the old garlic that's strong and bitter! I still use it, but in winter I love the mellow flavor of roasted garlic.
Most recipes instruct you to wrap the garlic heads in aluminum foil, but I don't like foil touching my food so I wrap them in parchment first, then foil.
I roast some of them until they're very soft and caramelized, and others until they're just barely soft with a stronger garlic flavor, like the ones in the photo below. Sometimes I use EVOO, sometimes I use ghee. I keep the roasted cloves in the fridge and use them all winter long.
Our farm grows hard neck garlic, which keeps longer, but the hard neck is difficult to cut through!
Original recipe: How to roast garlic
How to Roast Hard-neck Garlic

Ingredients:
- As many whole heads of fresh garlic as will fit in your pan - I used 10
- 1-2 T fat for each head - I use either EVOO or ghee
- Parchment paper cut into squares large enough to enclose one head
- Aluminum foil cut into squares large enough to enclose one head
Instructions:
Preheat the oven to 400F.
Our garlic is hard-neck, and it's dried with the roots and stalk intact. These need to be removed prior to roasting:
Using a pair of sharp scissors, cut off the roots close to the bottom of the head.
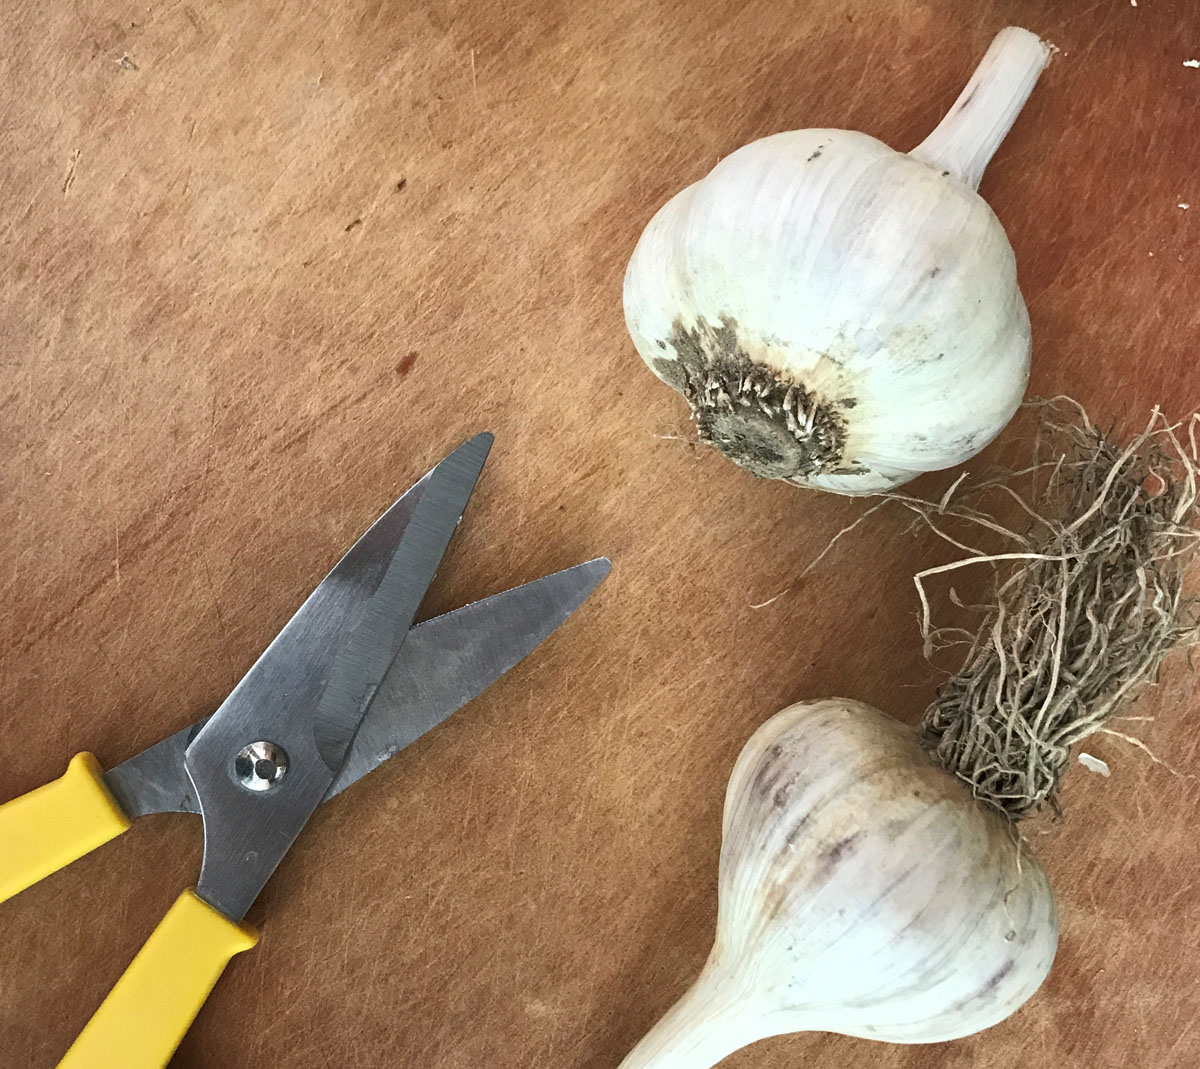
Using a sharp knife, cut through the top 1/4" of each clove down to the stalk.

Using the scissors again, cut through the stalk.

Wrap each head in parchment, then foil, but do not close the tops! Arrange them in a baking pan, using additional foil to insure they remain upright. Add 1-2 T of fat to the tops of each head and twist the top closed.

Roast for about 30 minutes. I make some batches to be very soft and caramelized, so I will leave them in for a little longer. I also make some batches to be less caramelized with stronger garlic flavor so I start checking them after 25 minutes. Depending on your oven, you might need more or less time.
Remove the pan from the oven and let the heads cool, then remove the cloves from the head. Some of them will squeeze right out, others will need to be pried. I prefer to separate each clove and remove them as close to intact as possible!

Store them in the refrigerator, covered with EVOO or ghee, until you use them. You can also freeze them without covering them with oil.
No comments:
Post a Comment